1 Like
Using Node.js + S3 to create,delete,list buckets ,upload, list objects — Part 1
Last updated on Feb. 24, 2021, 2:31 p.m. by rugved62321
Introduction
Most of the websites require hosting to host images,videos etc. One obvious way to do it is to store it in hard drive. That seems alright but what if size of this storage required exceeds to hard drive storage limit. We will need to scale it accordingly which is a bit tedious task. So here hosting service like AWS S3 comes into picture which can store huge amount of media files and can scale accordingly.
This blog has two parts:
Part I — Learn how to setup aws s3 and manually use it.
Part II — Using node js programatically perform operations on S3.
What is AWS S3?
Amazon Simple Storage Service is storage for the Internet. It is designed to make web-scale computing easier for developers.
Amazon S3 has a simple web services interface that you can use to store and retrieve any amount of data, at any time, from anywhere on the web. It gives any developer access to the same highly scalable, reliable, fast, inexpensive data storage infrastructure that Amazon uses to run its own global network of web sites. The service aims to maximize benefits of scale and to pass those benefits on to developers.
source: https://docs.aws.amazon.com/AmazonS3/latest/dev/Welcome.html
What are we building?
In this blog we will see node js implementation to do the following:
(Code will be covered in Part II but before that we need to do some setup thus follow this blog till the end before moving to Part II)
- Create bucket on S3 (like a specific unique folder to store our media)
- List out all the buckets made by us.
- Upload images to the bucket.
- List out all the objects(images,videos etc) in the bucket
- Delete the bucket.
Lets begin
Setup
- Create an AWS account if don’t have one. Login into your AWS account.
- After login, on the top bar you will see your name with a dropdown sign. Click it.
- Select “My Security Credentials”
The following screen will appear.
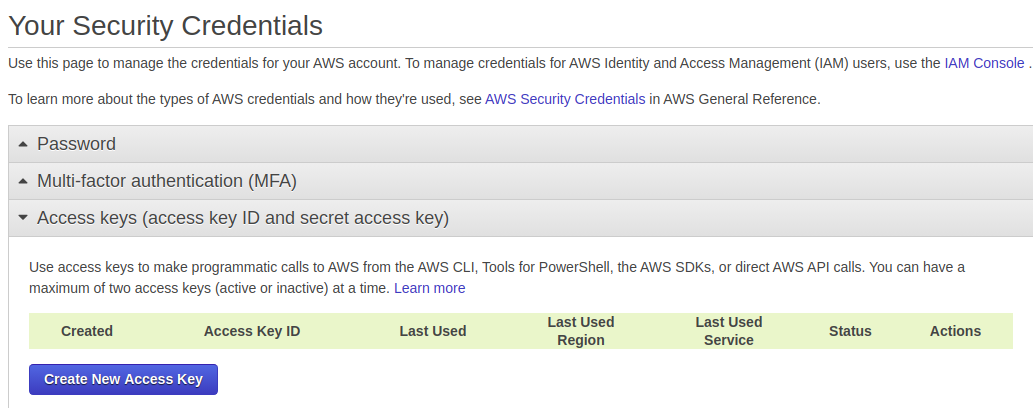
4. Click on “Create New Access Key” button.
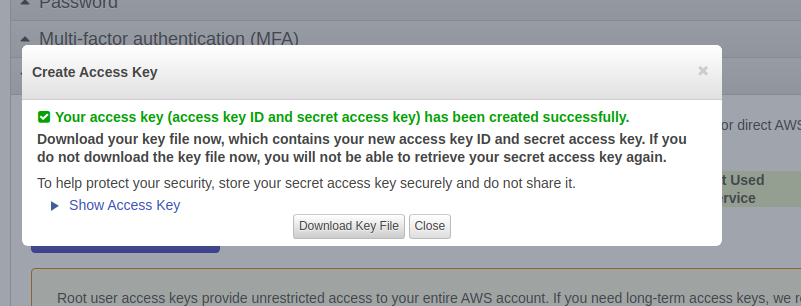
5. Click on “Download Key File” or “Show Access Key”
6. In both cases you will get the following
— Access Key ID
— Secret Access Key
Note it down , we will require it further.
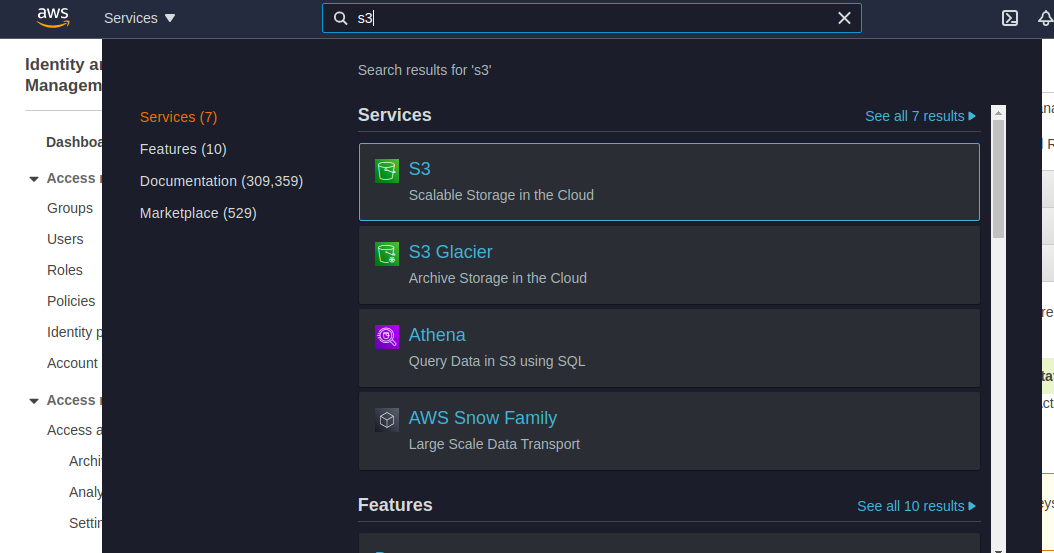
Accessing S3 console
In the search bar at top type out s3. Click on the first option. You will be directed to a page showing list of currently buckets. If you are using it for the first time ,it will be a empty list.
Before moving to code lets do it manually and understand what S3 is.
- Click on create bucket button.

2. Give a unique name to the bucket. Note that this should be a unique name.
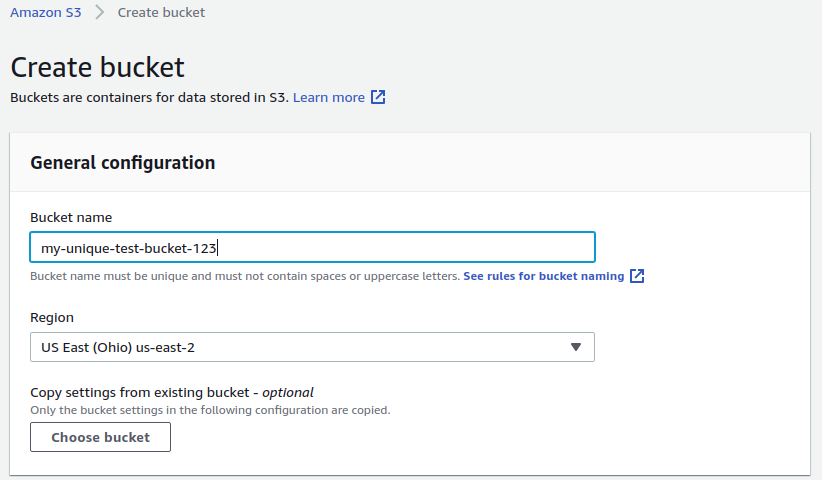
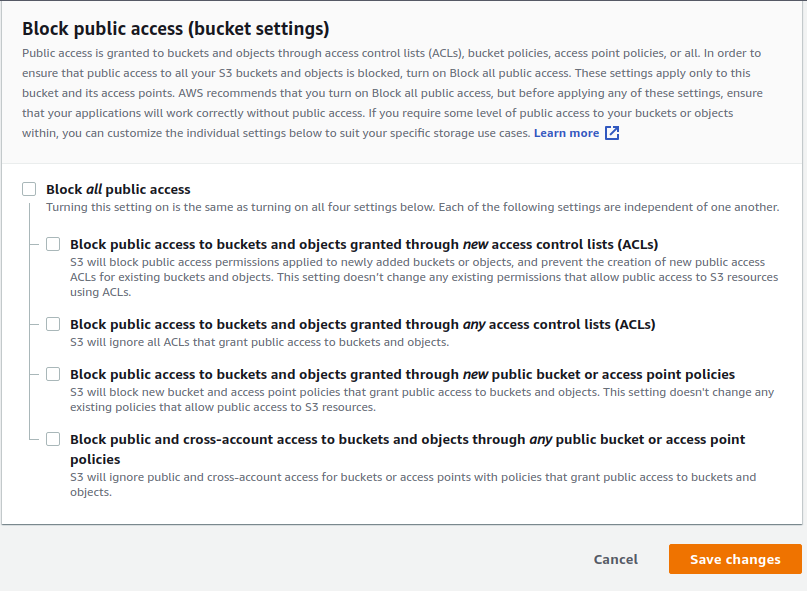
3. Untick “Block all public access”. This is not a recommended setting in production but for now just to learn how S3 works lets untick it.

4. Scroll to bottom and click “Create bucket” button.
5. It will redirect you to page where all of your buckets will be displayed. Click on the bucket name you just created from the list.
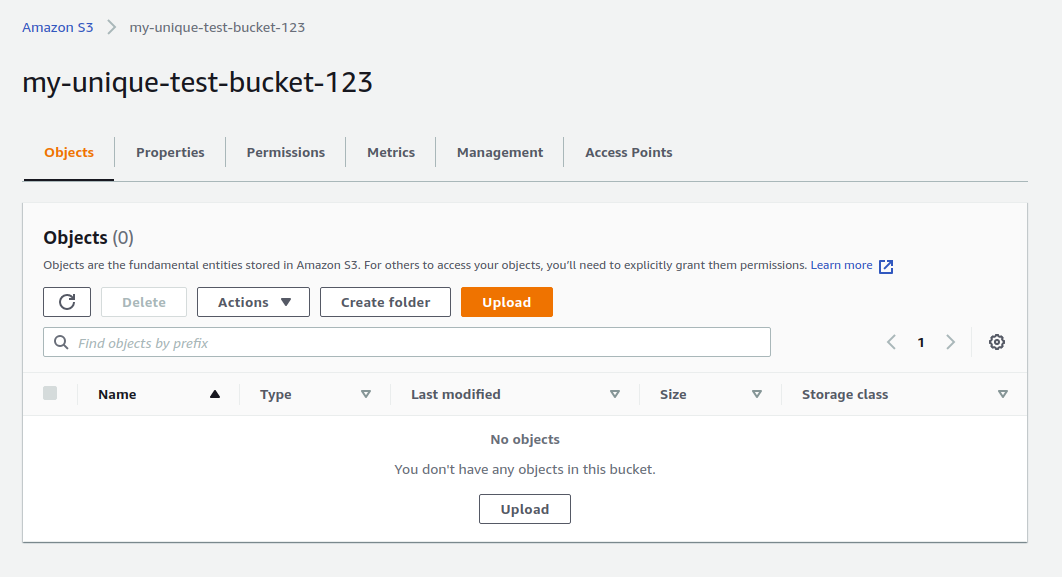
7. Click on upload button and upload a image. And now you will see uploaded image in the list.
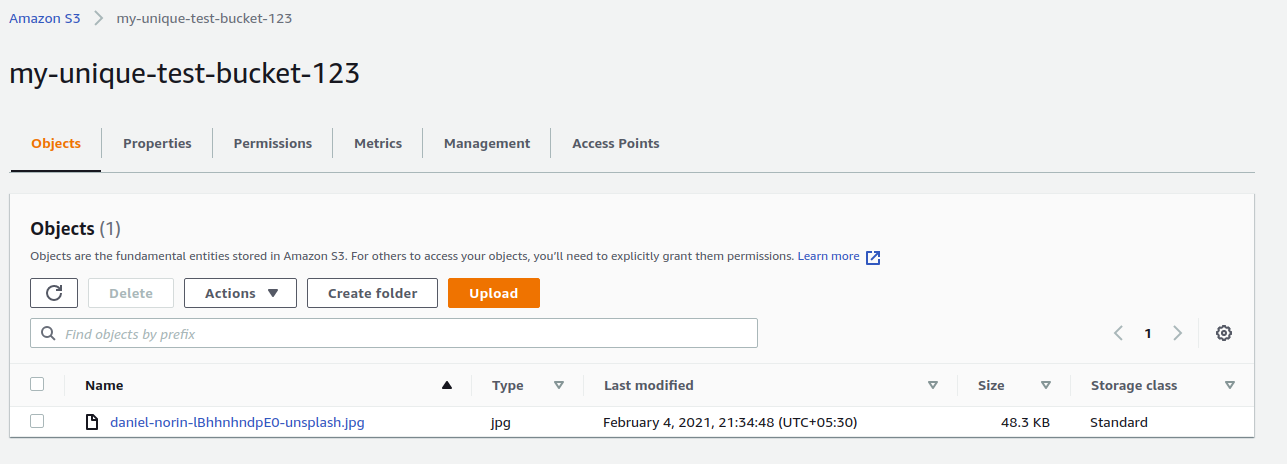
8. Click on the image item in the list and on the next page you will find “Object URL”. This will the image url by which you can access image uploaded by you globally.
In my case object url was https://my-unique-test-bucket-123.s3.us-east-2.amazonaws.com/daniel-norin-lBhhnhndpE0-unsplash.jpg
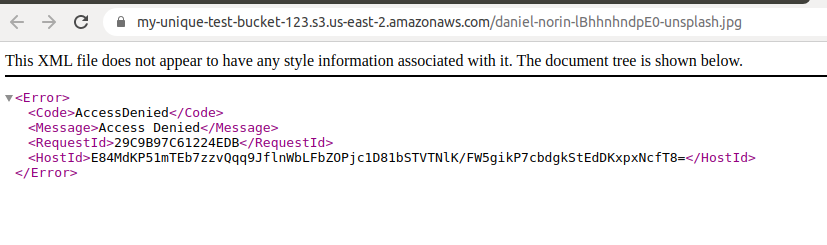
Well did it work?? i guess no. Don’t worry.
We need to add “Bucket policy”.
9. Click on permissions.
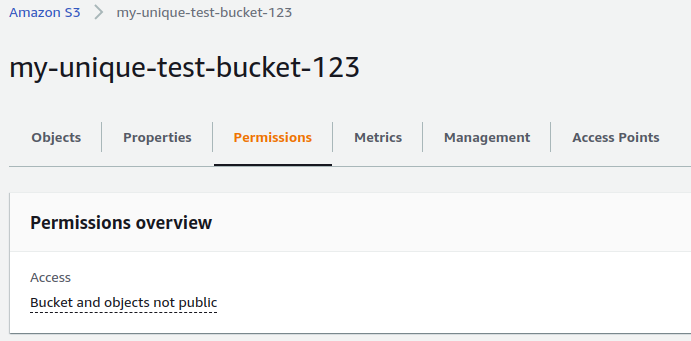
10. Under the “Block public access (bucket settings)” click on “Edit” button and untick “Block all public access”. Depending on your requirements you can tick/untick options but for now untick all as shown below and save.
11. In the permissions tab, scroll down to “Bucket policy” click on“Edit” button and add the following code to it and click save.
{
    "Version": "2008-10-17",
    "Statement": [
        {
            "Sid": "AllowPublicRead",
            "Effect": "Allow",
            "Principal": {
                "AWS": "*"
            },
            "Action": "s3:GetObject",
            "Resource": "arn:aws:s3:::my-unique-test-bucket-123/*"
        }
    ]
}
NOTE: Replace “my-unique-test-bucket” in the above snippet with your bucket name.
To understand how bucket policies are written read here. For now we will simply use the above code snippet.
10. Phew thats it! Now again try to access the image url. In my case it was
https://my-unique-test-bucket-123.s3.us-east-2.amazonaws.com/daniel-norin-lBhhnhndpE0-unsplash.jpg

Yayy… Its working!
That’s it for this blog.
See you in the next blog where we will see how to use node js to upload file, create,list buckets and its contents etc.
Link for the Part II
https://medium.com/@rugved-bongale/using-node-js-s3-to-create-delete-list-buckets-and-upload-list-objects-part-2-fb1b76da36dc
Conclusion:
In this blog we have successfully completed the minimum setup required for using AWS S3.
1 Like
by rugved62321
KJ Somaiya College of Engineering Mumbai
Suggested Posts